Original: $98.00
-65%$98.00
$34.30The Story
Turn ant-keeping into a cleaner, easier daily experience. This T design DIY ant farm gives your colony a structured home with clear viewing, separate activity areas, and a feeding space that keeps routine care simple.
With its acrylic build and multi-layer layout, you can watch tunnel activity, feeding, and nesting behavior without disturbing the colony. The larger internal layout gives ants room to explore while keeping the habitat organized for you.
See your colony clearly while keeping care simple
✅ Clear visibility lets you follow daily ant movement with ease
✅ Separate activity zones keep the habitat more organized
✅ A dedicated feeding area lets you add food without disturbing the nest
✅ Moisture-support features help maintain a stable environment
✅ Expanded tunnels give ants more room to explore naturally
✅ An external garbage area keeps the main nest cleaner over time
✅ An expansion port makes it easier to grow the habitat later
This ant farm is made for hobbyists who want to observe ant behavior in a controlled, transparent setup. The 11 × 15 × 21 cm size fits well on a desk or shelf, while still leaving space for tunnels, chambers, and feeding areas.
Before assembly, remove the protective film from each acrylic panel. Cleaning the parts with cool or warm water improves visibility, and soaking the included blue sponge prepares it for moisture control.
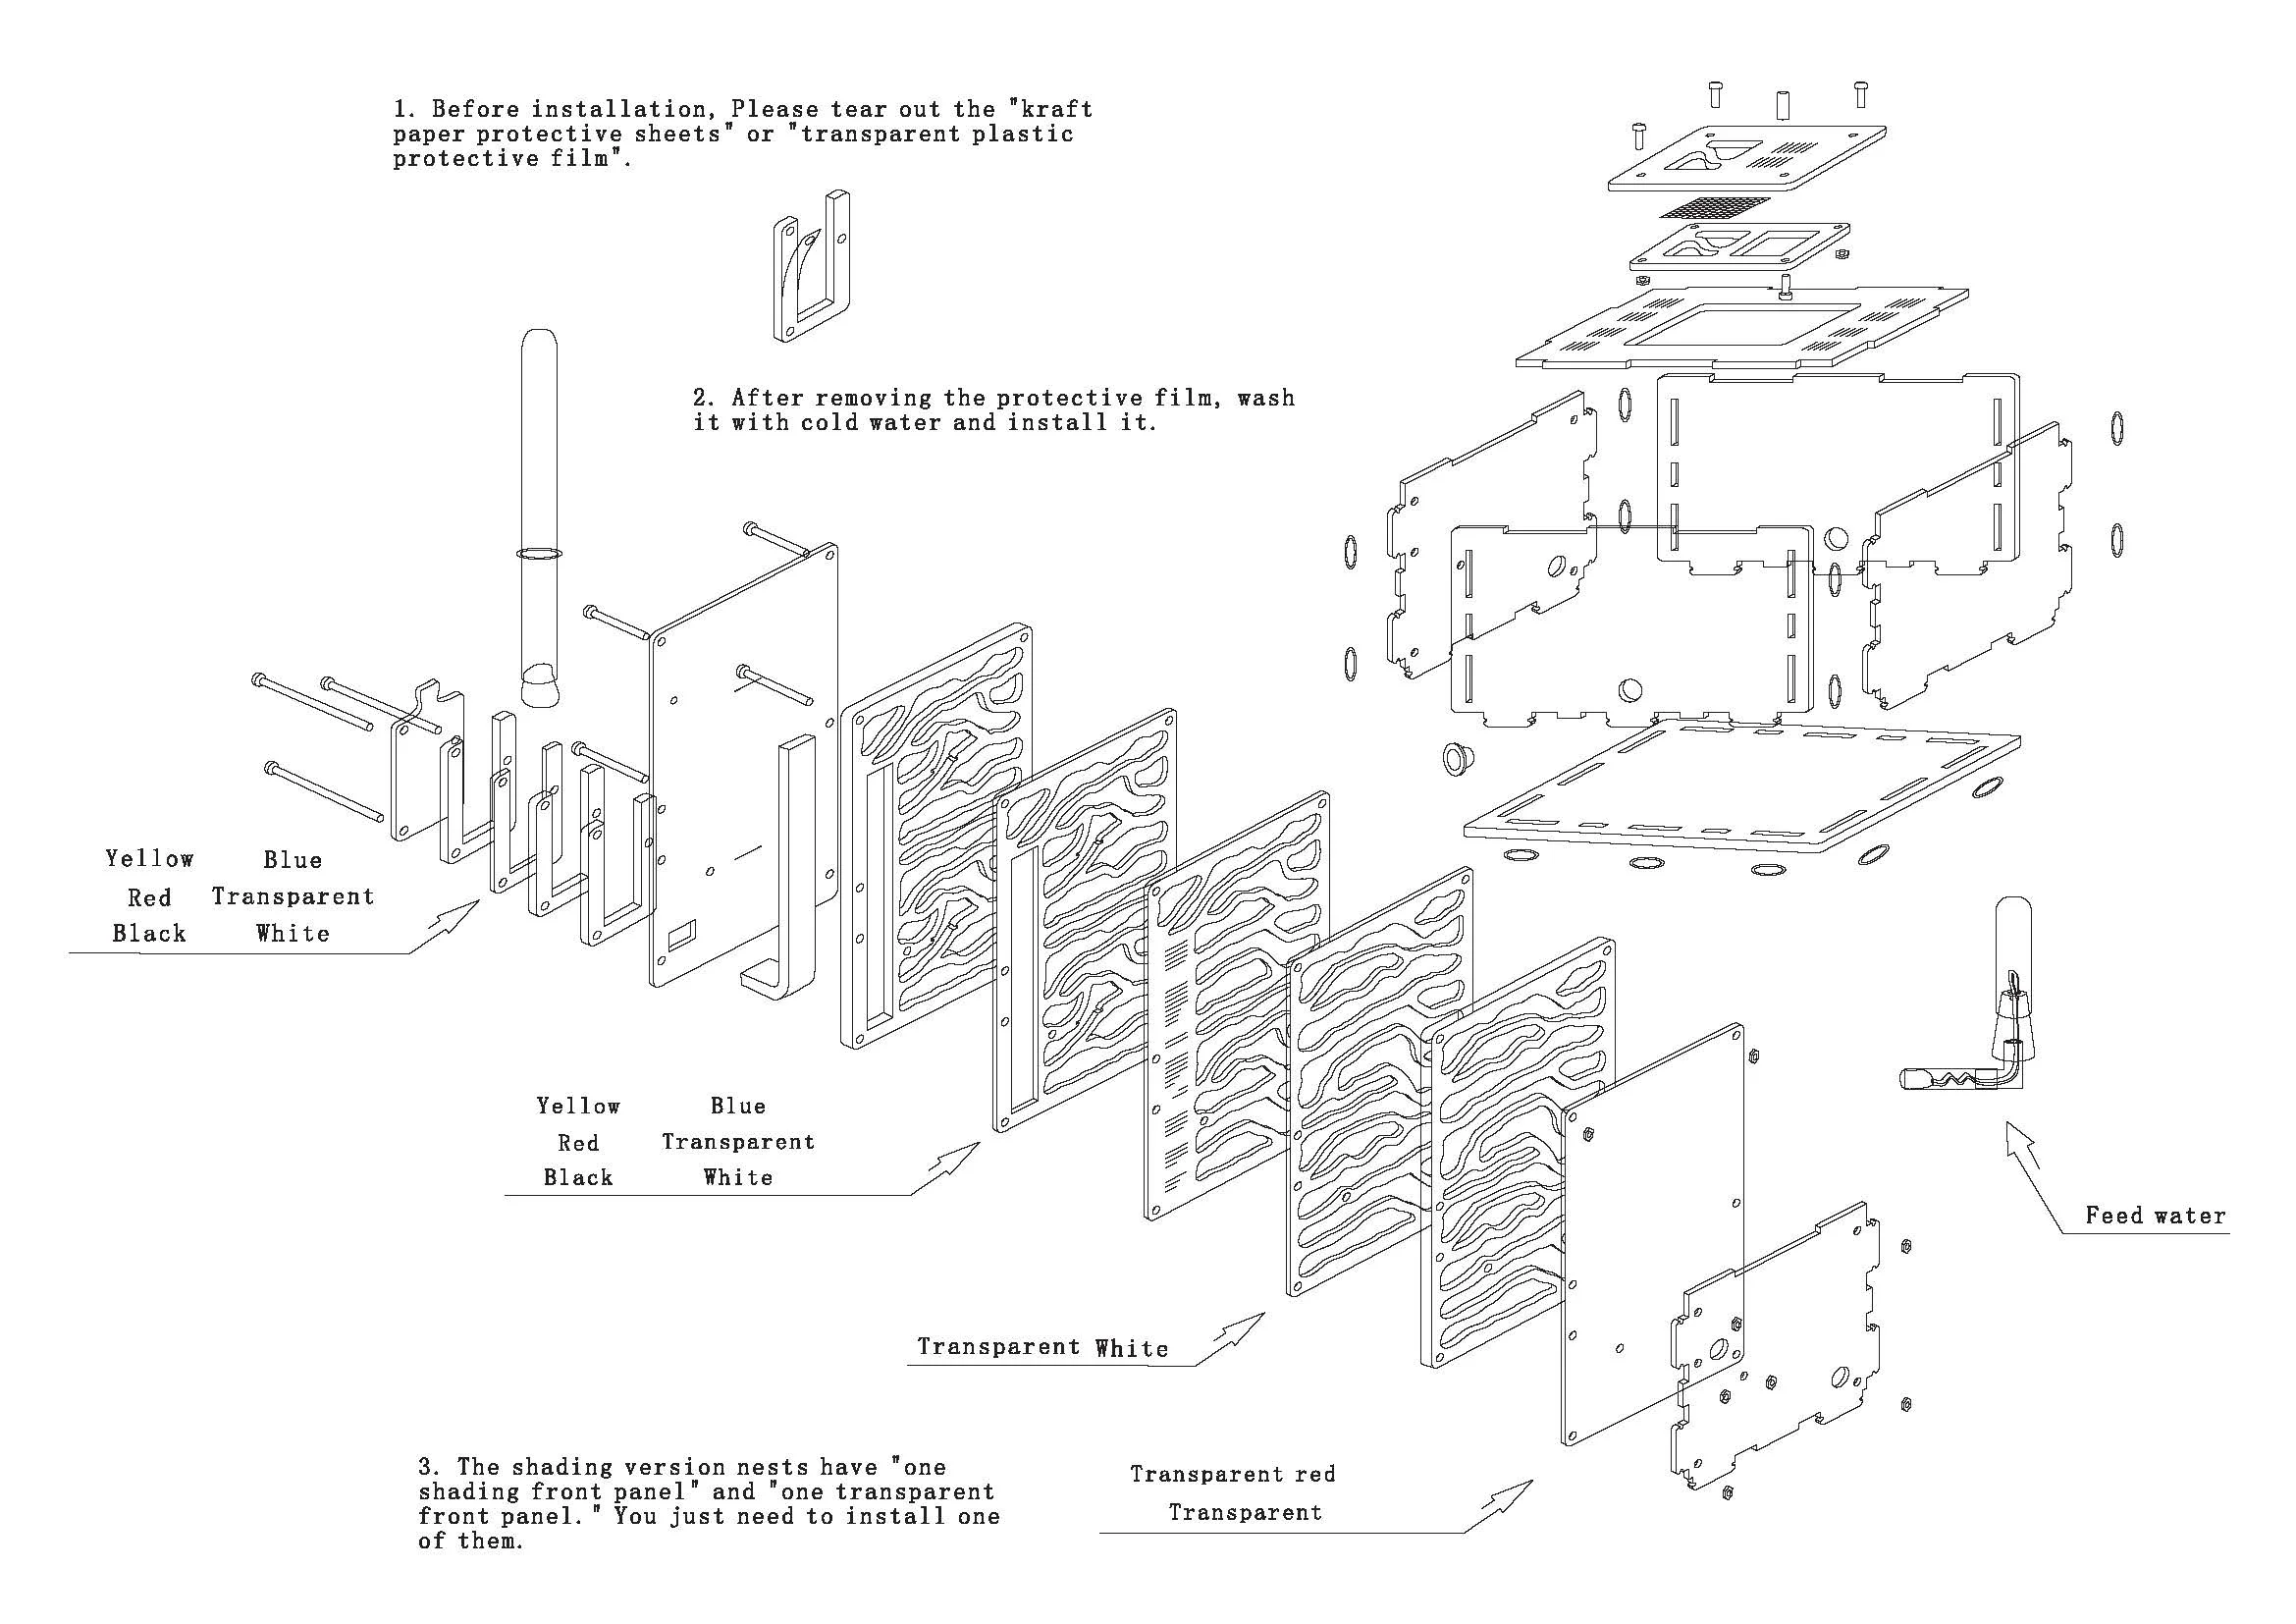
Every section is easy to inspect, so you can track activity without guessing. The layered design also makes it easier for ants to move, nest, and organize their space in a way that feels natural.
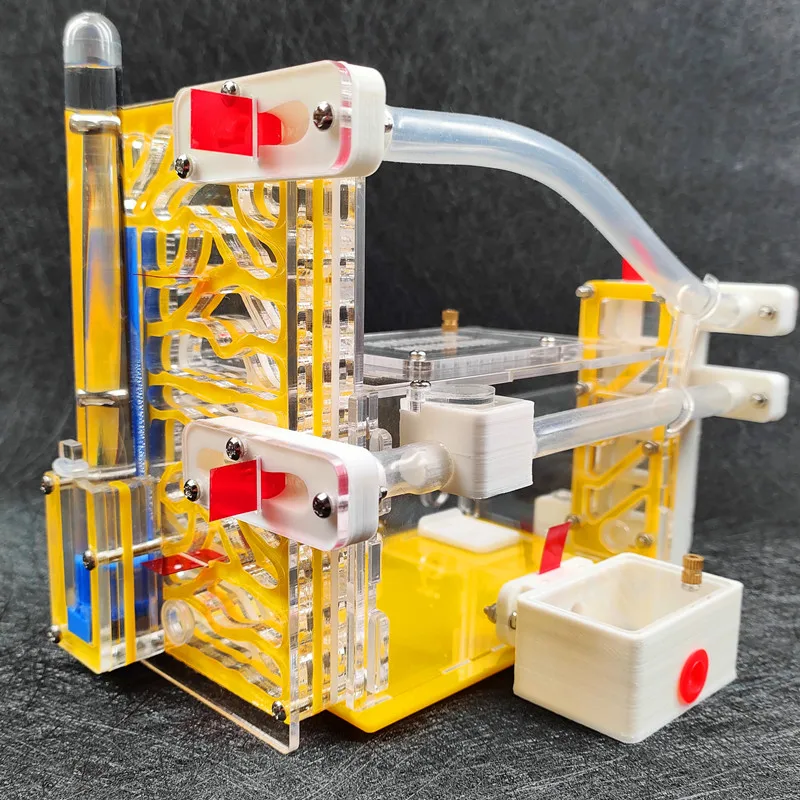
The hanging feeding platform keeps food access separate from the main nest, which means fewer disruptions during daily care. The external waste area also supports a tidier interior, so viewing stays clearer.
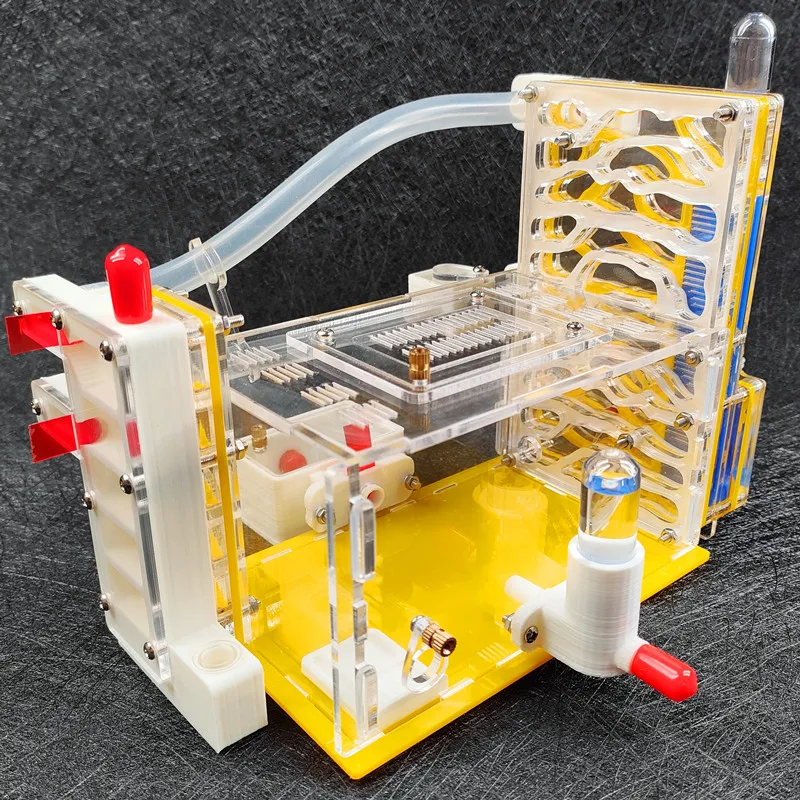
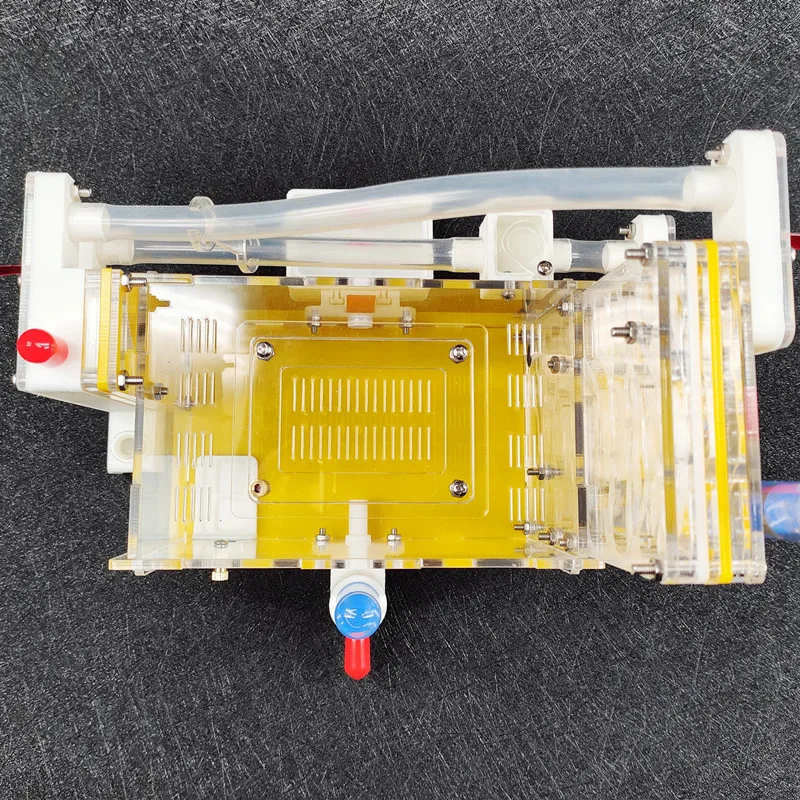
The moisture tower and cotton column support a stable internal environment, which is useful when you want steadier conditions for your colony. The expansion port gives you room to add modules as the colony grows.
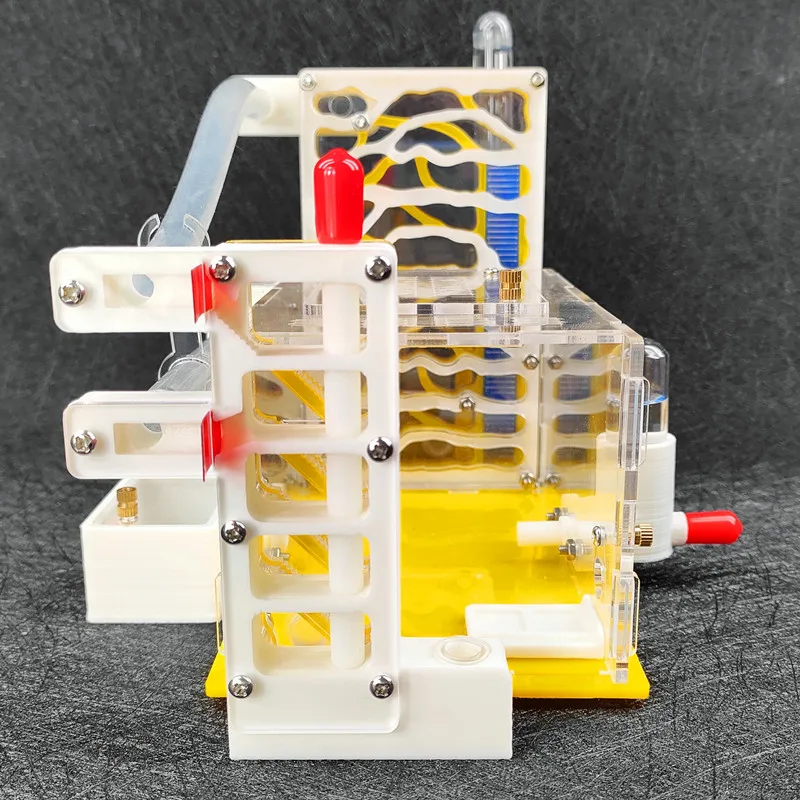
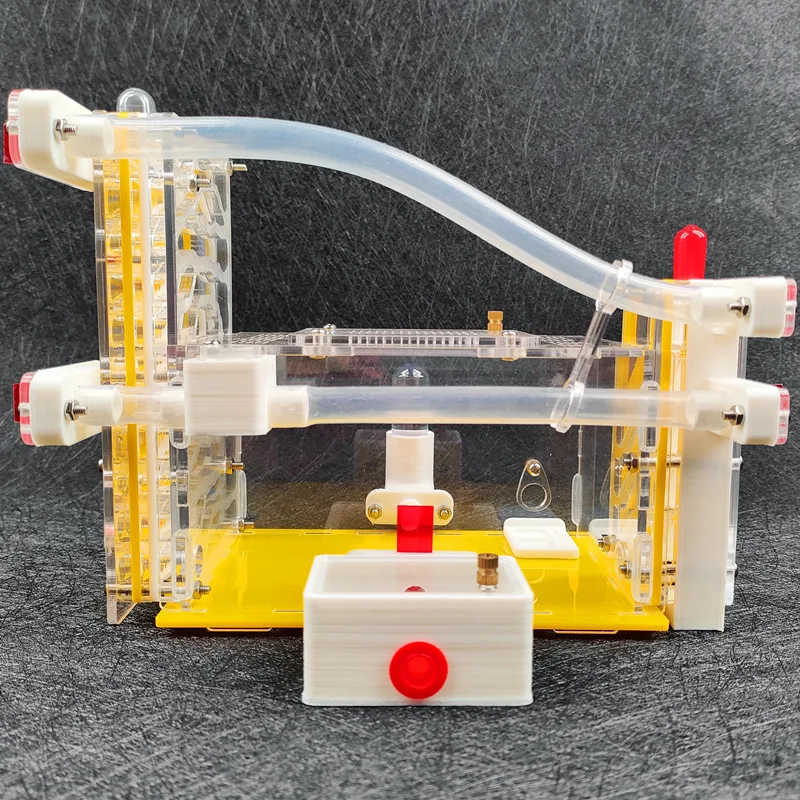
Set up a clear, organized habitat and enjoy watching your colony every day.
Details & Craftsmanship
Every detail has been carefully considered to bring you the perfect product.
Details & Craftsmanship
Every detail has been carefully considered to bring you the perfect product.
Details & Craftsmanship
Every detail has been carefully considered to bring you the perfect product.
Details & Craftsmanship
Every detail has been carefully considered to bring you the perfect product.
Details & Craftsmanship
Every detail has been carefully considered to bring you the perfect product.
Details & Craftsmanship
Every detail has been carefully considered to bring you the perfect product.
Details & Craftsmanship
Every detail has been carefully considered to bring you the perfect product.
Details & Craftsmanship
Every detail has been carefully considered to bring you the perfect product.
Details & Craftsmanship
Every detail has been carefully considered to bring you the perfect product.
Details & Craftsmanship
Every detail has been carefully considered to bring you the perfect product.
Details & Craftsmanship
Every detail has been carefully considered to bring you the perfect product.
Details & Craftsmanship
Every detail has been carefully considered to bring you the perfect product.
Details & Craftsmanship
Every detail has been carefully considered to bring you the perfect product.
Details & Craftsmanship
Every detail has been carefully considered to bring you the perfect product.
Details & Craftsmanship
Every detail has been carefully considered to bring you the perfect product.
Details & Craftsmanship
Every detail has been carefully considered to bring you the perfect product.
Details & Craftsmanship
Every detail has been carefully considered to bring you the perfect product.
Details & Craftsmanship
Every detail has been carefully considered to bring you the perfect product.
Details & Craftsmanship
Every detail has been carefully considered to bring you the perfect product.
Details & Craftsmanship
Every detail has been carefully considered to bring you the perfect product.
Details & Craftsmanship
Every detail has been carefully considered to bring you the perfect product.
Details & Craftsmanship
Every detail has been carefully considered to bring you the perfect product.
Details & Craftsmanship
Every detail has been carefully considered to bring you the perfect product.
Details & Craftsmanship
Every detail has been carefully considered to bring you the perfect product.
Details & Craftsmanship
Every detail has been carefully considered to bring you the perfect product.
Details & Craftsmanship
Every detail has been carefully considered to bring you the perfect product.
Details & Craftsmanship
Every detail has been carefully considered to bring you the perfect product.
Description
Turn ant-keeping into a cleaner, easier daily experience. This T design DIY ant farm gives your colony a structured home with clear viewing, separate activity areas, and a feeding space that keeps routine care simple.
With its acrylic build and multi-layer layout, you can watch tunnel activity, feeding, and nesting behavior without disturbing the colony. The larger internal layout gives ants room to explore while keeping the habitat organized for you.
See your colony clearly while keeping care simple
✅ Clear visibility lets you follow daily ant movement with ease
✅ Separate activity zones keep the habitat more organized
✅ A dedicated feeding area lets you add food without disturbing the nest
✅ Moisture-support features help maintain a stable environment
✅ Expanded tunnels give ants more room to explore naturally
✅ An external garbage area keeps the main nest cleaner over time
✅ An expansion port makes it easier to grow the habitat later
This ant farm is made for hobbyists who want to observe ant behavior in a controlled, transparent setup. The 11 × 15 × 21 cm size fits well on a desk or shelf, while still leaving space for tunnels, chambers, and feeding areas.
Before assembly, remove the protective film from each acrylic panel. Cleaning the parts with cool or warm water improves visibility, and soaking the included blue sponge prepares it for moisture control.
Every section is easy to inspect, so you can track activity without guessing. The layered design also makes it easier for ants to move, nest, and organize their space in a way that feels natural.
The hanging feeding platform keeps food access separate from the main nest, which means fewer disruptions during daily care. The external waste area also supports a tidier interior, so viewing stays clearer.
The moisture tower and cotton column support a stable internal environment, which is useful when you want steadier conditions for your colony. The expansion port gives you room to add modules as the colony grows.
Set up a clear, organized habitat and enjoy watching your colony every day.